
How to Make a Wreath

Wreaths are one of my favorite things to make during the holidays. Granted, I am a bit of a nut when it comes to decorating for the holiday season. Fresh wreaths and garlands not only add festive touches to your home but make the room smell absolutely wonderful! I was reminded of the source of my love of all things evergreen while back in Ohio this fall. Growing up, my mom would have piles and piles of fresh pine in the courtyard at her shop. Though she has since sold her business, the piles in the courtyard remain. My sister, Lindsay, opened her own store in the same space as our mom’s and now teaches workshops along with 18 other artists at The Collective.
Decorating this time of year calls for pulling out all your best tricks. For Anthony and me, that means wreaths, garlands, centerpieces and pine arrangements galore. Every room gets something, and the result is a festive and aromatic home.
Despite what you might think, making a gorgeous evergreen wreath is not difficult. All you need is some fresh material, floral wire, and a little patience.
The first step in making your home a holiday wonderland is to find some fresh greens, fortunately, this time of year they are in almost every store on the block. You won’t have to go far to find fresh greens, but it is my recommendation that you start with a local garden center or flower shop. The greens you will likely find there are going to be fresher, higher quality and in many cases, locally sourced. I like to work with two or three different types of greens to really get as much texture and contrast as I can. In the photos below, I am working with balsam fir and white pine, two common and easily sourced types of evergreen. Other options include Carolina Sapphire, cedar, boxwood, magnolia leaves and more.
When it comes to making wreaths, you have a couple of options. You will need to select a base for your wreath and while either option will give you a great foundation, the real difference is in how difficult they are to work with. Your two options for a wreath base are a grapevine wreath or a wireframe.
Grapevine wreaths are exactly what they sound like; dried grapevines that are coiled, tied and dried. They are a dependable and sturdy base that I find the easiest to work with. To make a wreath with a grapevine base, simply shove the greens wherever you want them and voila! You have a wreath.
Metal frames, on the other hand, are a little more cost-effective. Most garden centers and flower shops us simple metal hoop wreaths because they are cheaper, giving them a better margin on their sale.
This year, Anthony and I made one of each. He really likes asymmetrical wreaths whereas I prefer a fuller and more uniform look. Let’s start with the grapevine wreath.

Grapevine Wreaths
Start by hanging your wreath on a door, wall or some other vertical space where you can work. Wreaths always look different hanging than they do when they are hung so I always work vertically.
Next, cut your greens down to 6 – 8-inch segments and make piles of each type of green you use.

Now you’re ready to start building your wreath. Start with one green type of green and work your way around the circumference of the wreath until you have base layer down. Simply stick the woody ends of the greens into the tightly wound base and work in a circular motion. Next, add your white pine, working in the same circular pattern as before. Keep going in this fashion until you’re satisfied with your piece.
As mentioned, I love grapevines for their ease of use and versatility. You can make a wreath as full or thin as you wish, and it will more than likely look great. I made a wreath with balsam, white pine and silver-dollar eucalyptus that turned out beautifully thanks to the differing textures and scale of the foliage.


Metal Frames
For a metal frame, start by cutting your greens into pieces that are all about 6 – 8 inches in length.
Next, make small bundles of greens, usually 3 or 4 stems per bundle, and tightly wire them together at the base. These bundles will be wired onto the metal frame when you start to assemble the wreath so it is important to make all your bundles ahead of time.


Once you’ve bundled all your greens, it is time to start assembling. Take your first bundle and with a paddle of floral wire, tightly wire it onto the frame by going around the entire thing a few times. Now, ad your second bundle and without cutting your wire, wrap it around the whole frame again. Continue this method until you’ve completely covered the frame and then cut the wire, affixing it to the frame at the end.


No matter what avenue you choose, I hope your wreaths turn out to be beautiful. Don’t sweat about making the “perfect” wreath, even pros get frustrated at times. The important part of this project is to simply enjoy yourself and the company you’re with. It is the holiday season after all so spread some cheer, make a wreath and adore it no matter what!

Forcing Bulbs for Winter
We all know fall is the time to plant bulbs for next year. But in Maine, we’ve reached the end of our planting season and I still have bulbs that never made it into the ground. Translation: I never intended these for the ground.
You see, winters in Maine are long, dark affairs. Most of our foul weather doesn’t come until February and March. While the rest of the country is beginning to thaw, Maine is preparing for the deep freeze. That’s why I’m OK with waiting until now to start thinking about bulbs. It might be another 6 months before I even see another plant flowering outside. Forcing bulbs gives me the joy of flowering bulbs, months before I would see them.
This is a project I take on every year and once you know the basics, it is a fun and easy project to tackle.
Choosing Your Bulbs
Bulbs come in tremendous variety. There are over 3,000 types of tulips alone. Our obsession with these early monikers of spring goes back centuries. During the mid-seventeenth century, the Dutch used bulbs as currency.
Because bulbs are so varied, take time to find a special and unique specimen to force. After all, if you’re going to wait for them to bloom, they might as well be special.
When selecting your bulbs, be sure to choose specimens that are firm, free of mold and any soft spots.
About Chilling
Some bulbs need to go through a dormancy period before blooming. To do this, chill the bulbs to mimic winter conditions. Chilling bulbs push them into their dormancy cycle and prepare them to bloom. The ideal temperature range for chilling bulbs is between 25 and 35 degrees, making an unheated garage, shed or root cellar ideal. Some people store their bulbs in a refrigerator but use caution here, fruit and vegetables give off ethylene gas that can damage your bulbs, causing them to either not bloom or rot all together.
During this time, keep an eye on the soil and if the soil feels
When the chill time is up, you will bring them inside to jump-start the blooming process. Below are some bulbs I have had success forcing in the past and recommend to others.
Bulbs that Need Chilling
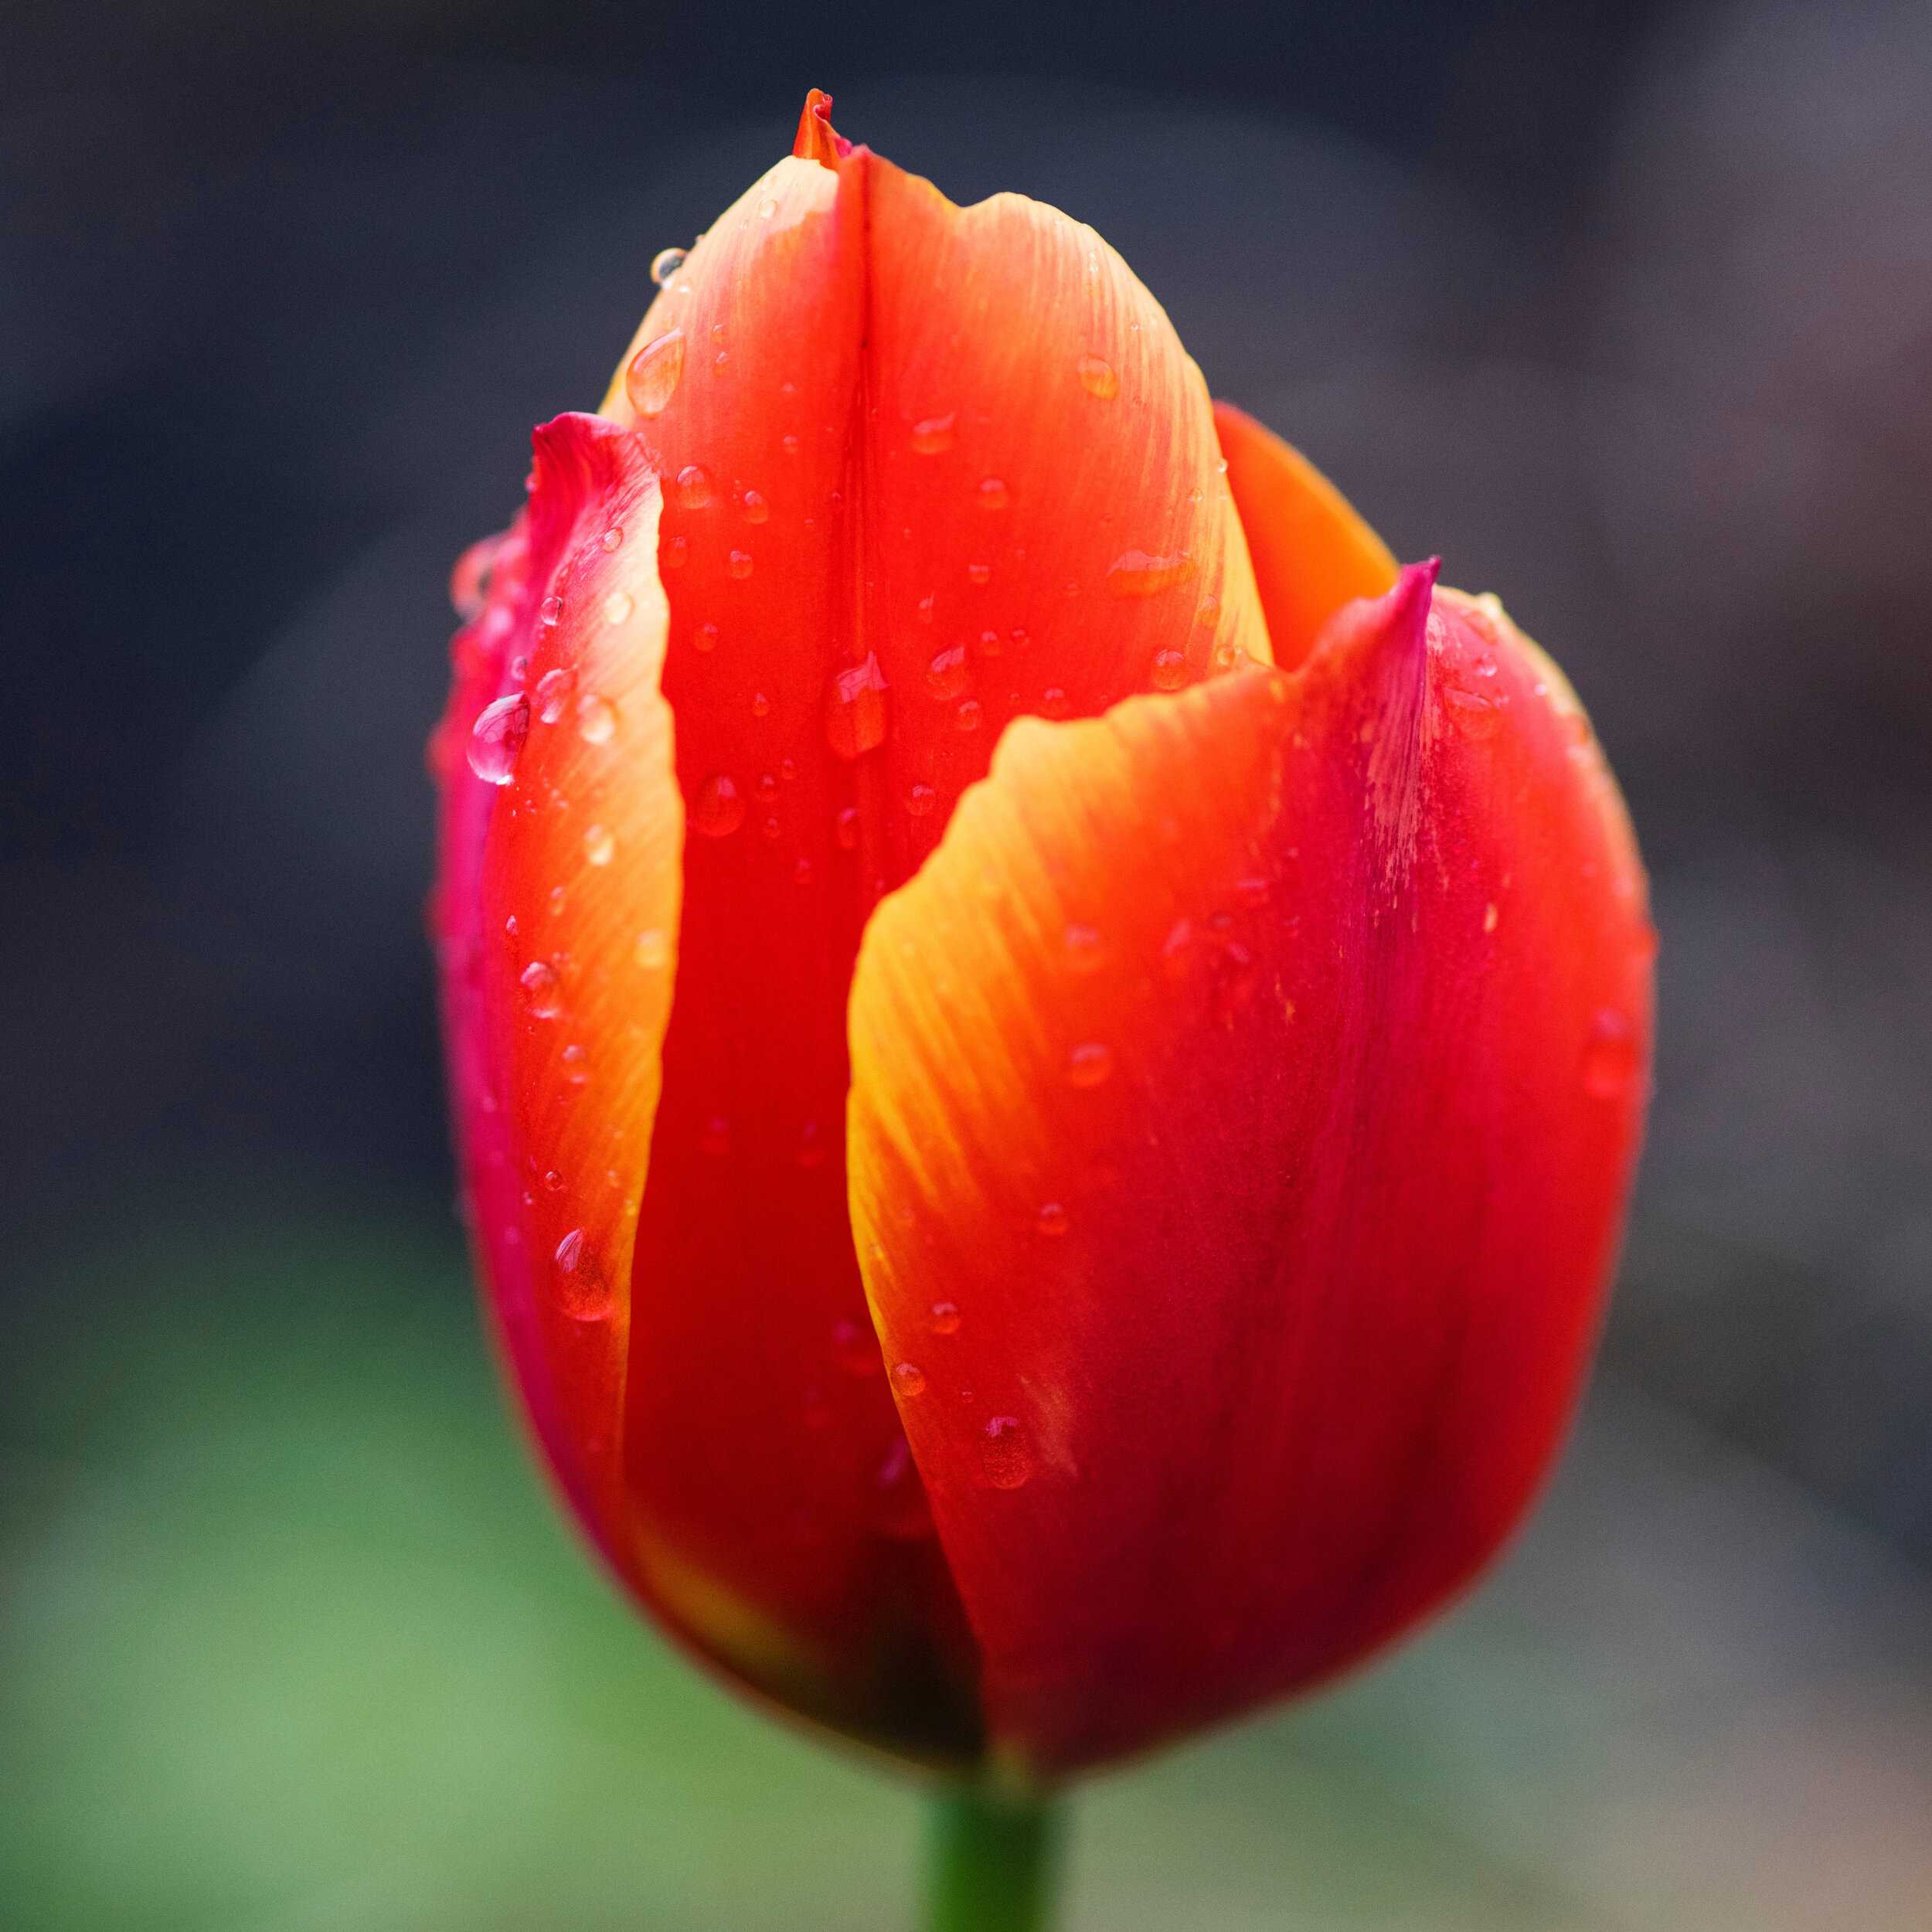
Tulips need 14 - 20 weeks to chill before blooming.
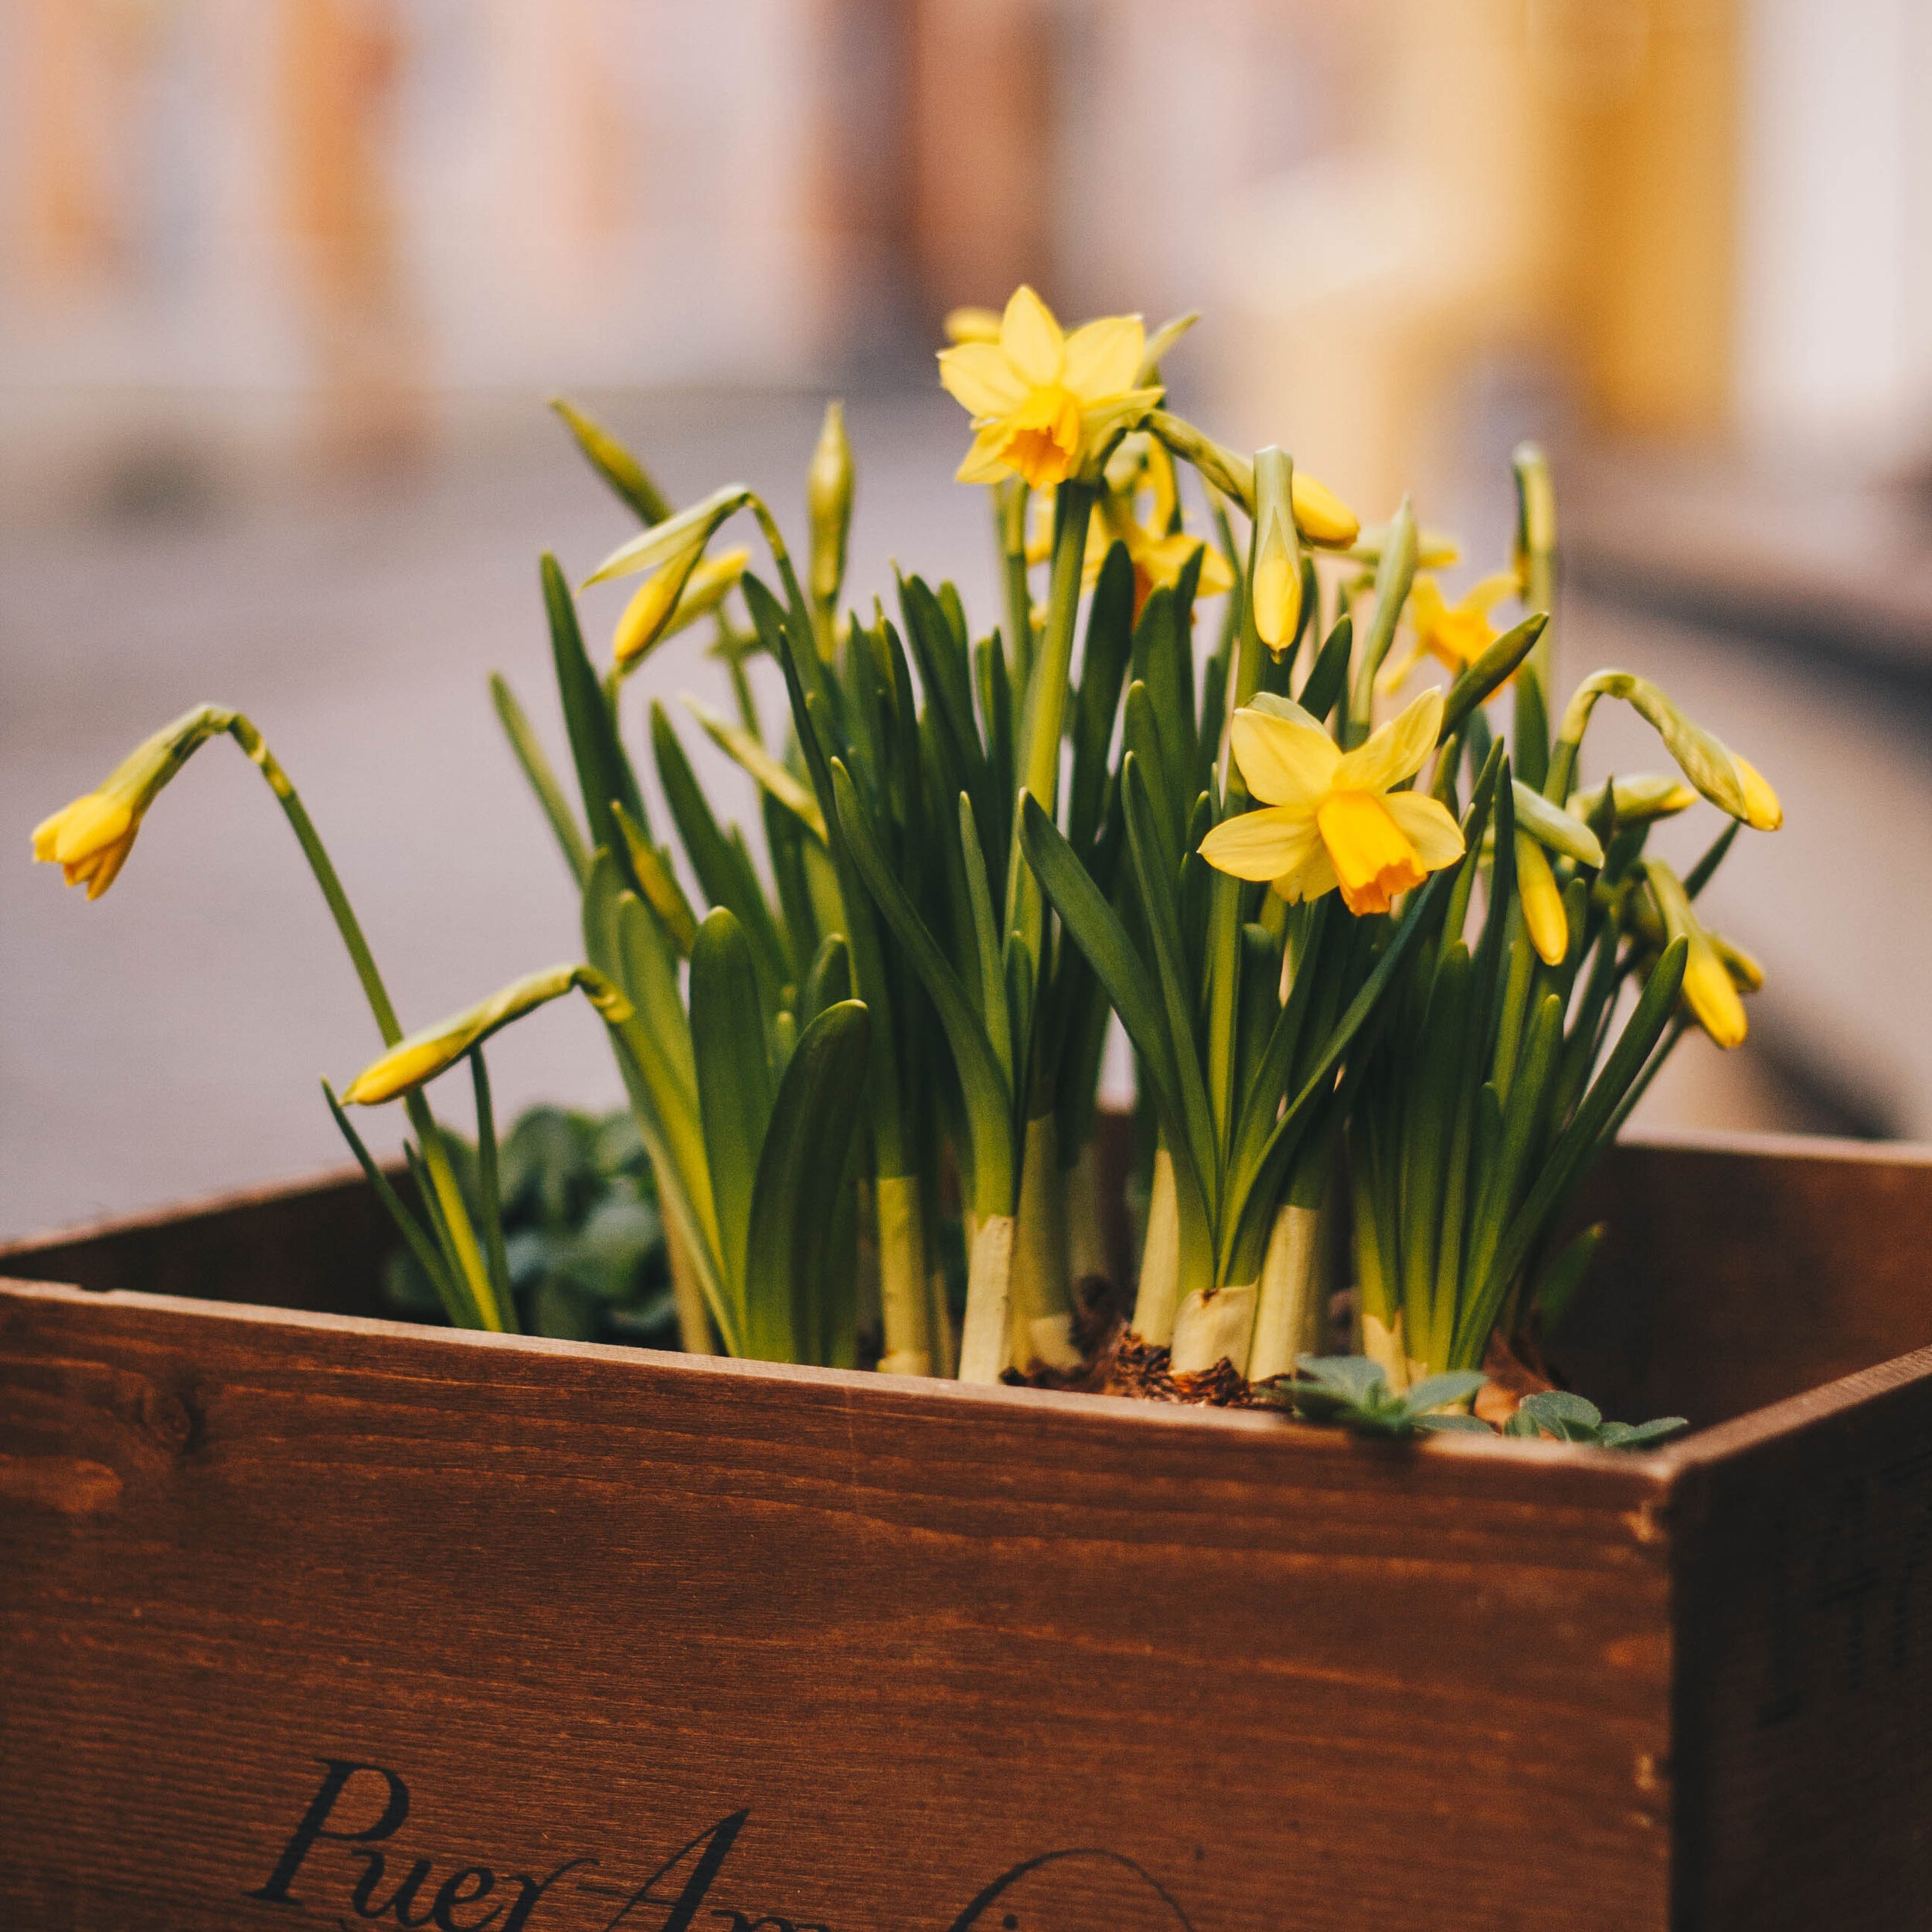
Daffodils need 15 - 17 weeks to chill before blooming.
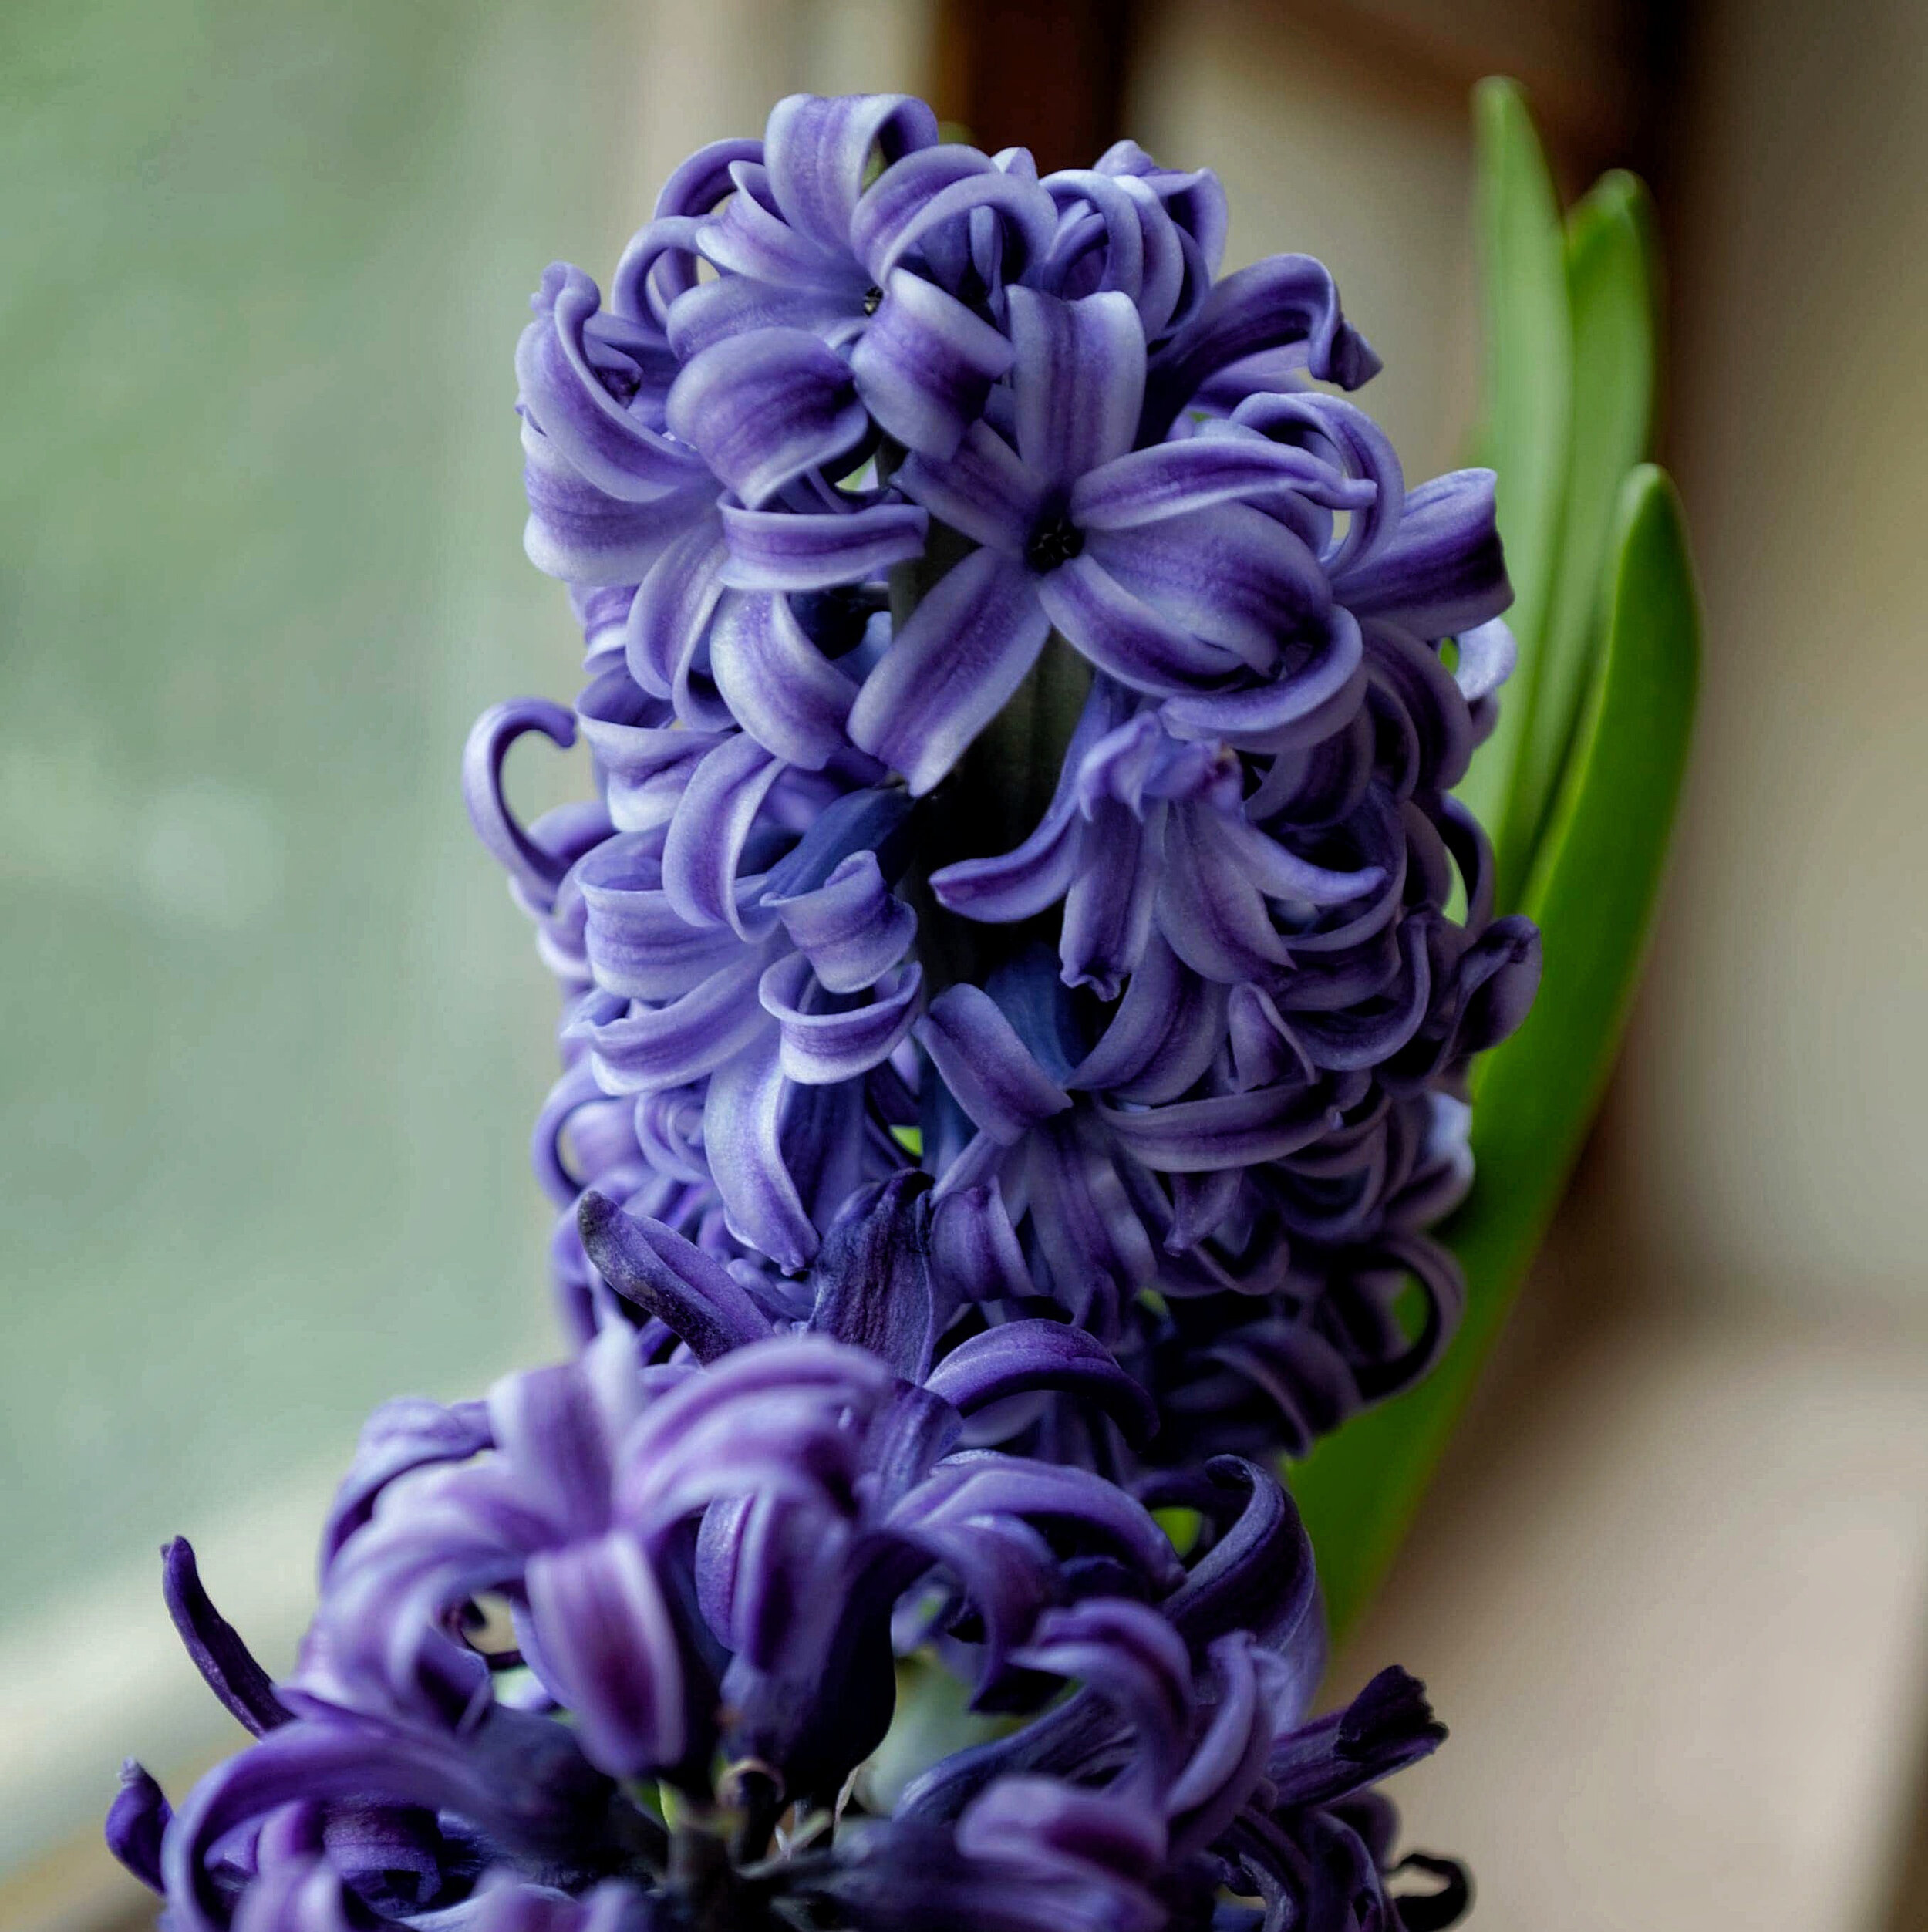
Hyacinths need 11 - 14 weeks to chill before blooming.
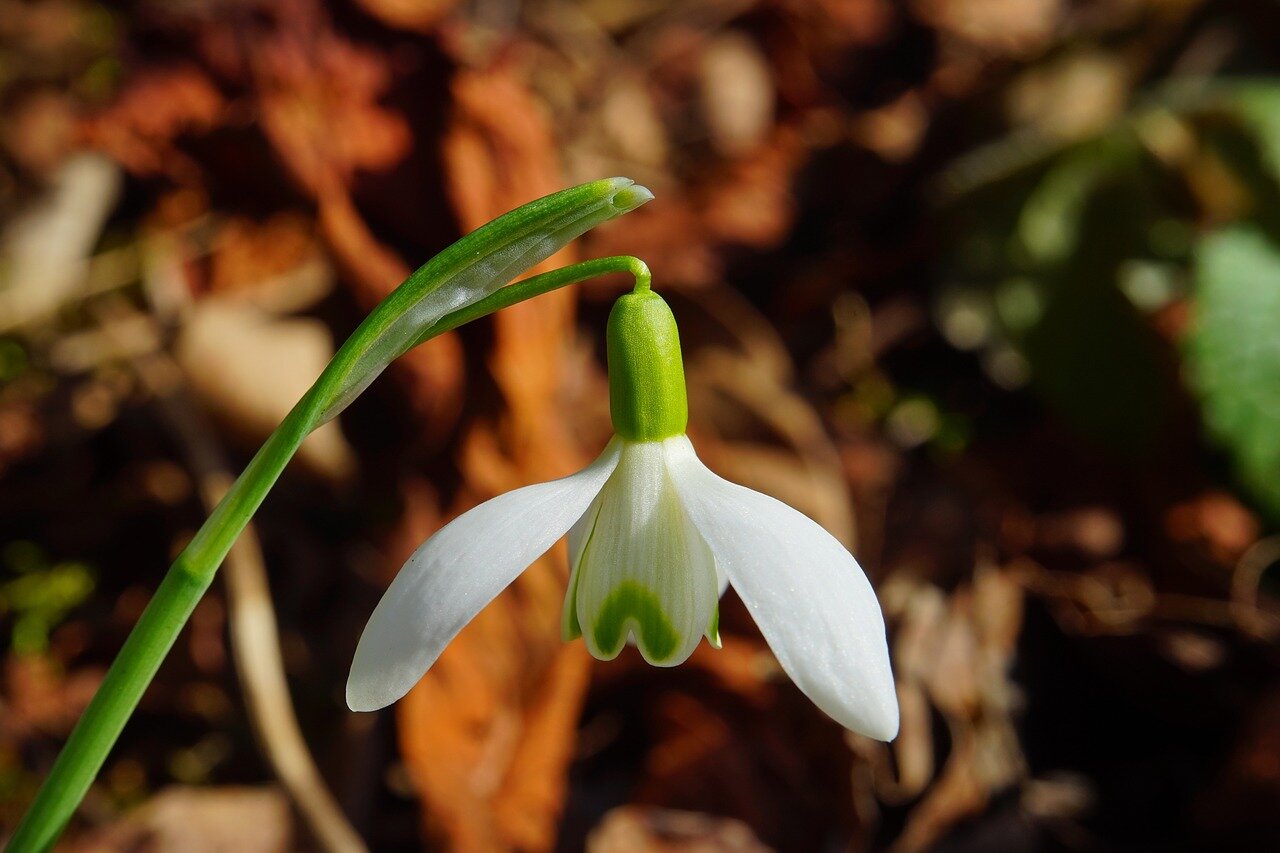
Snowdrops need 14 weeks to chill before blooming.
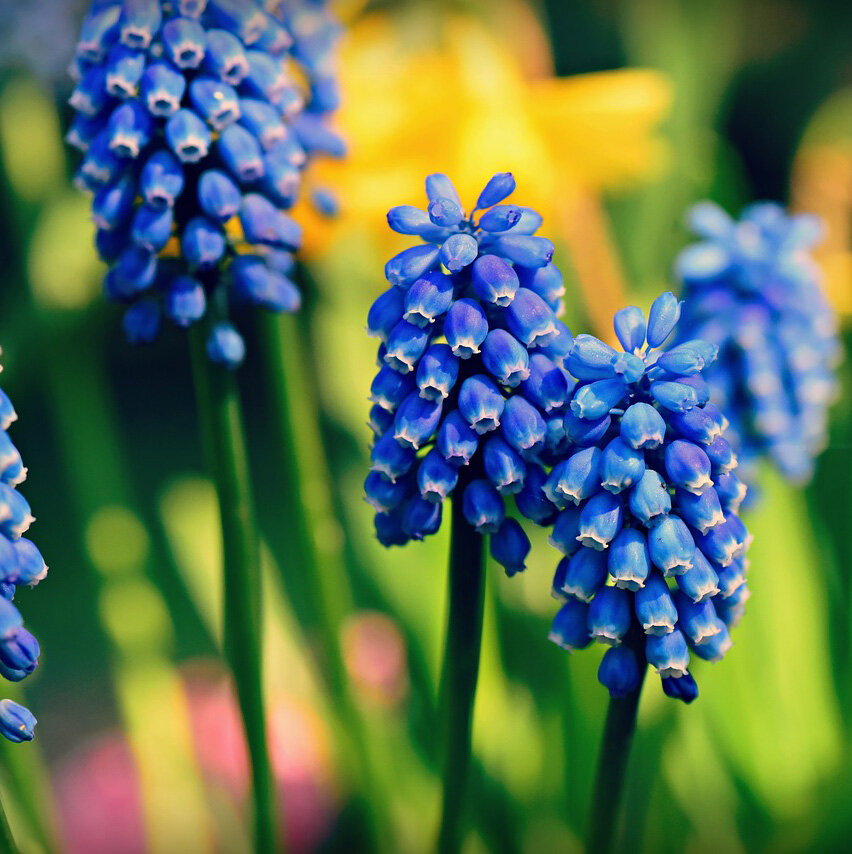
Grape Hyacinths need 14-15 weeks to chill before blooming.
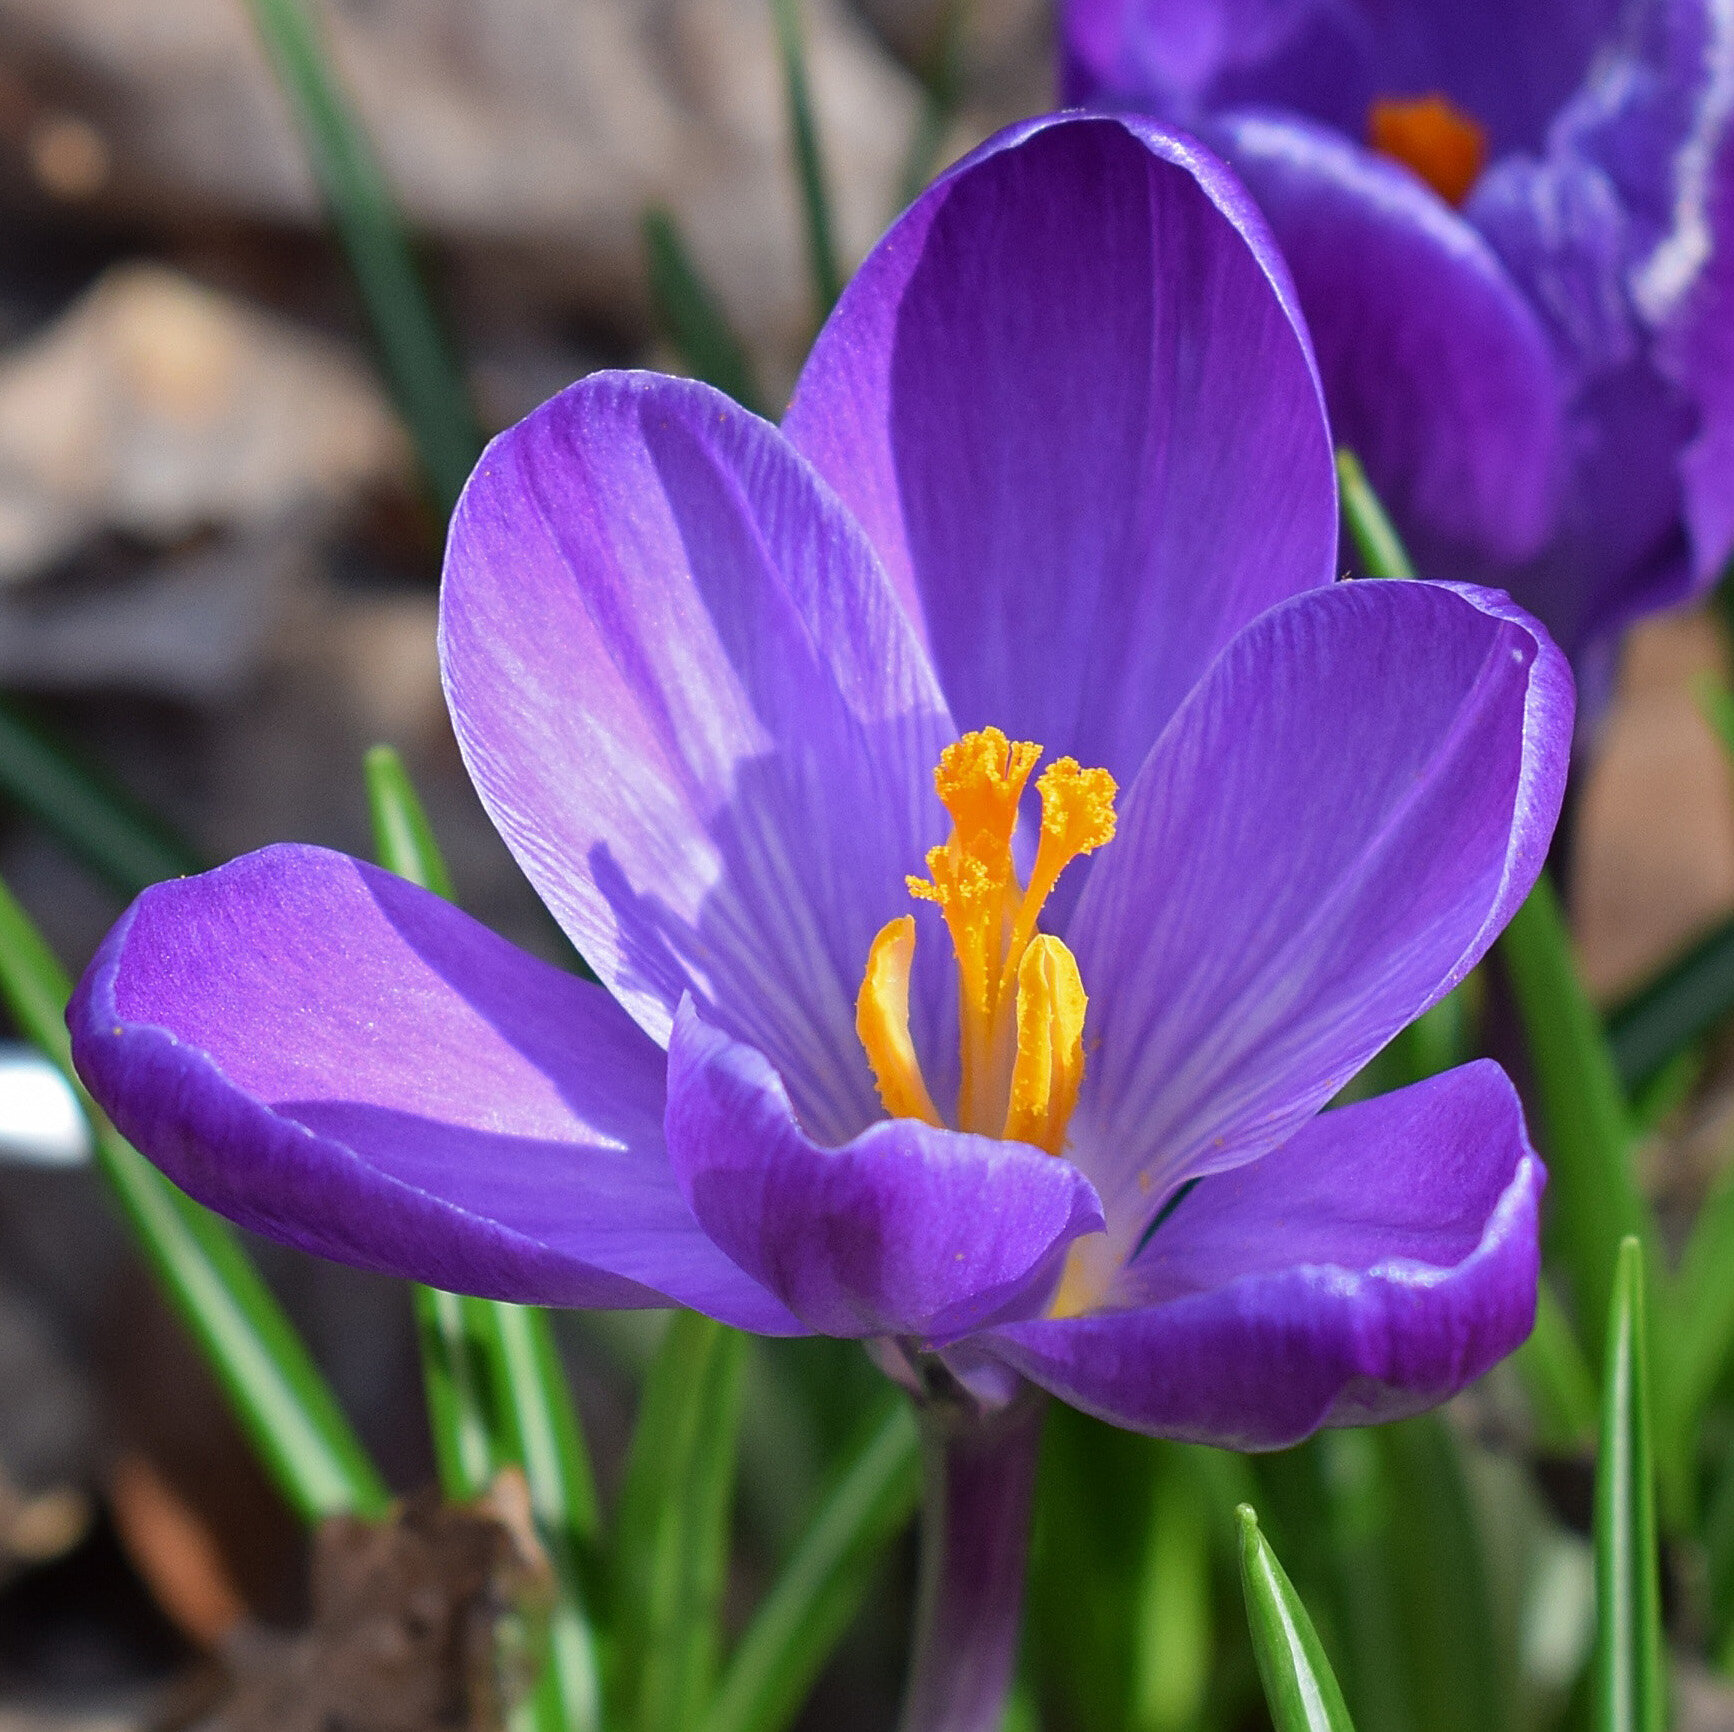
Crocus need 15 weeks to chill before blooming.
Bulbs That Do Not Need Chilling
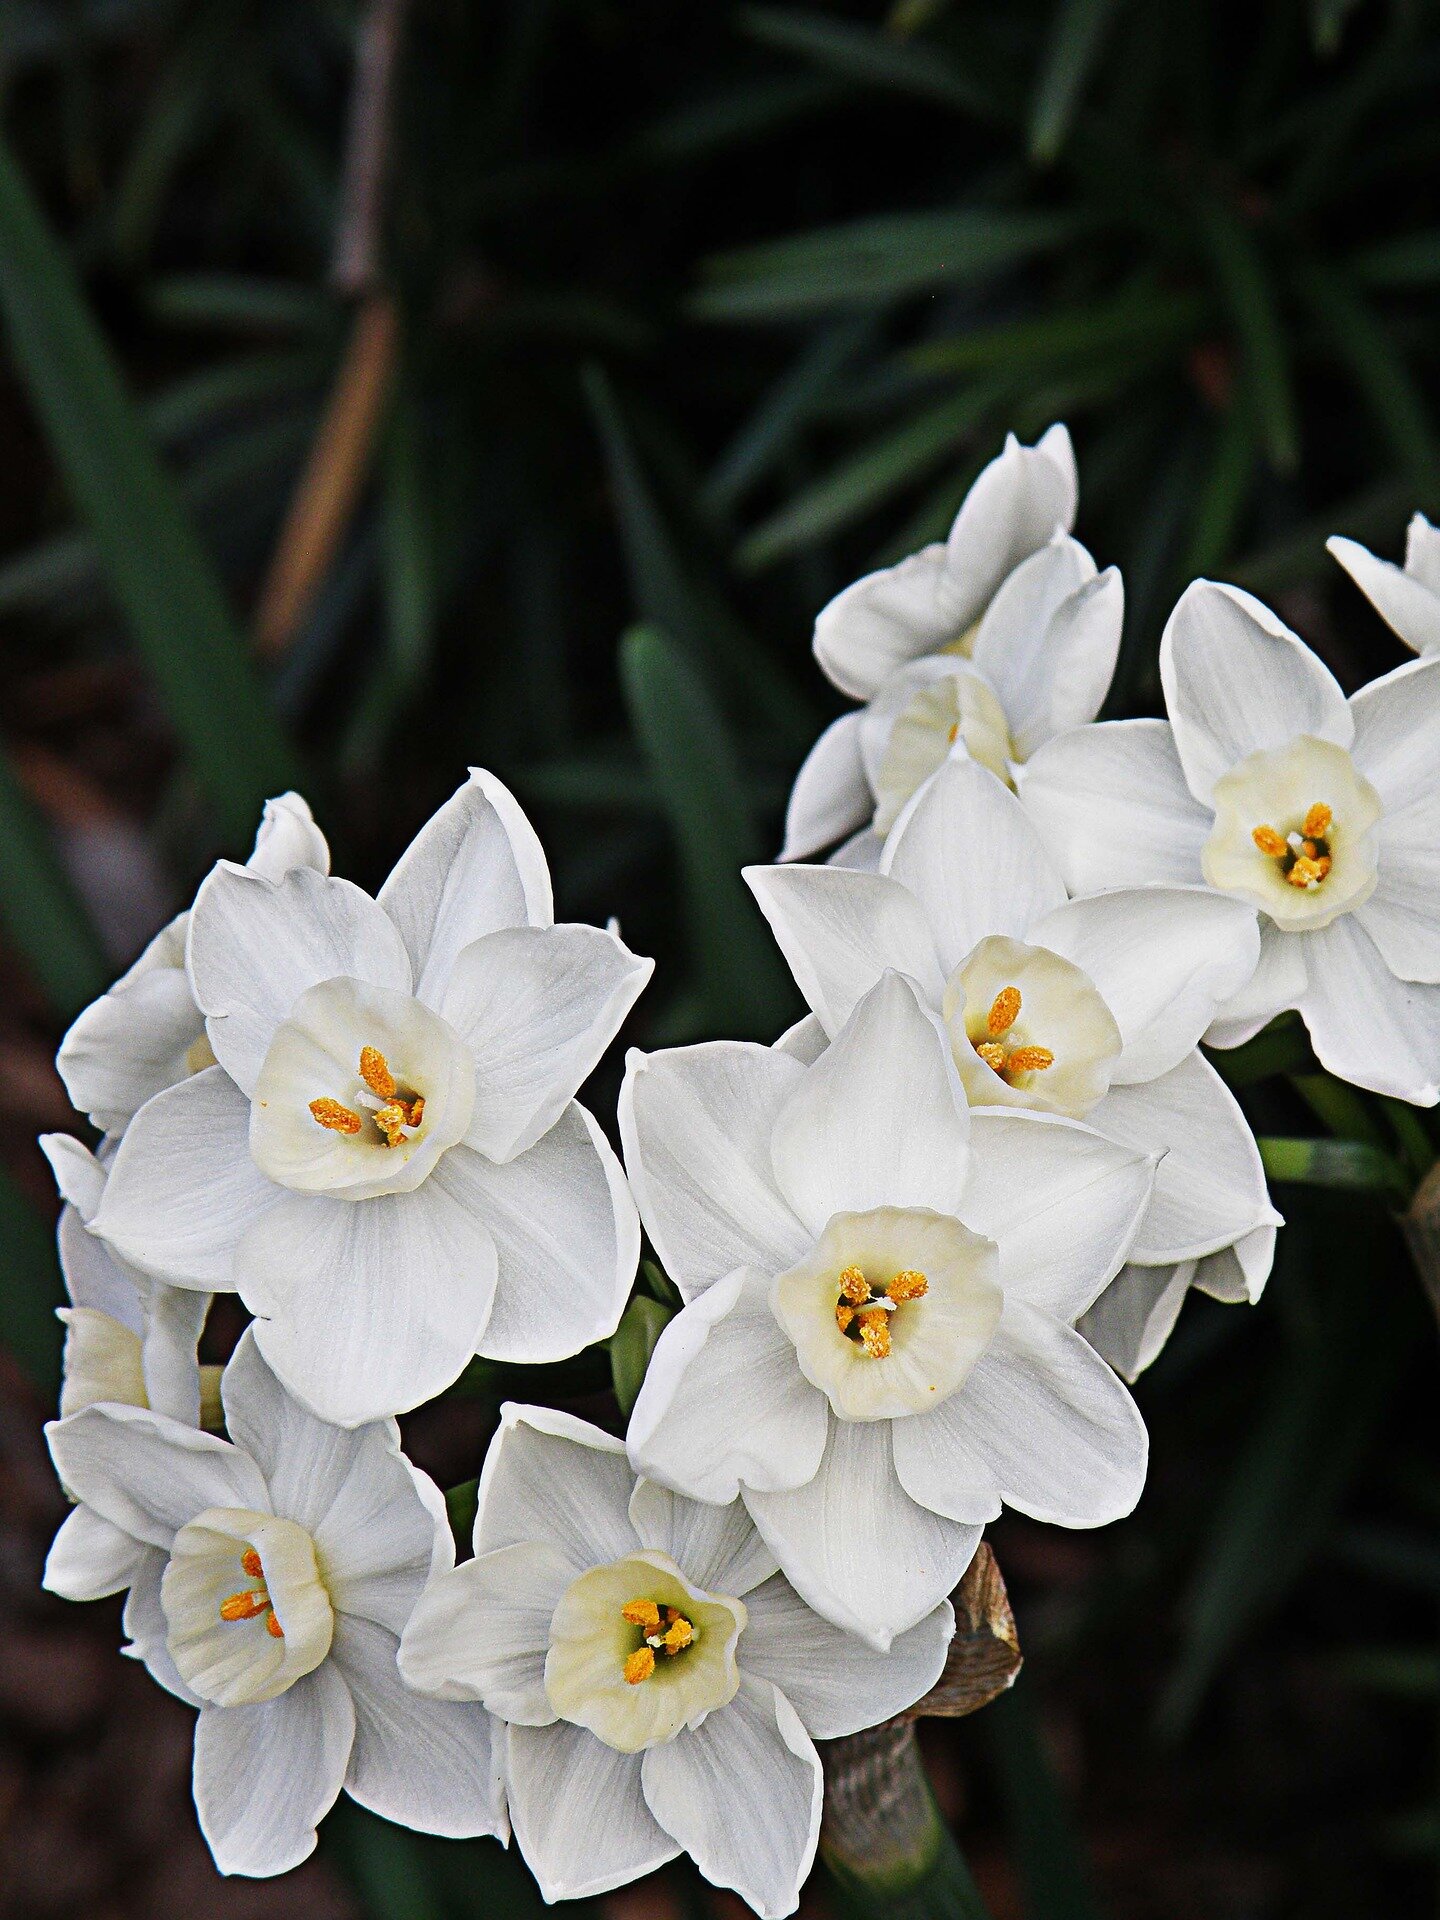
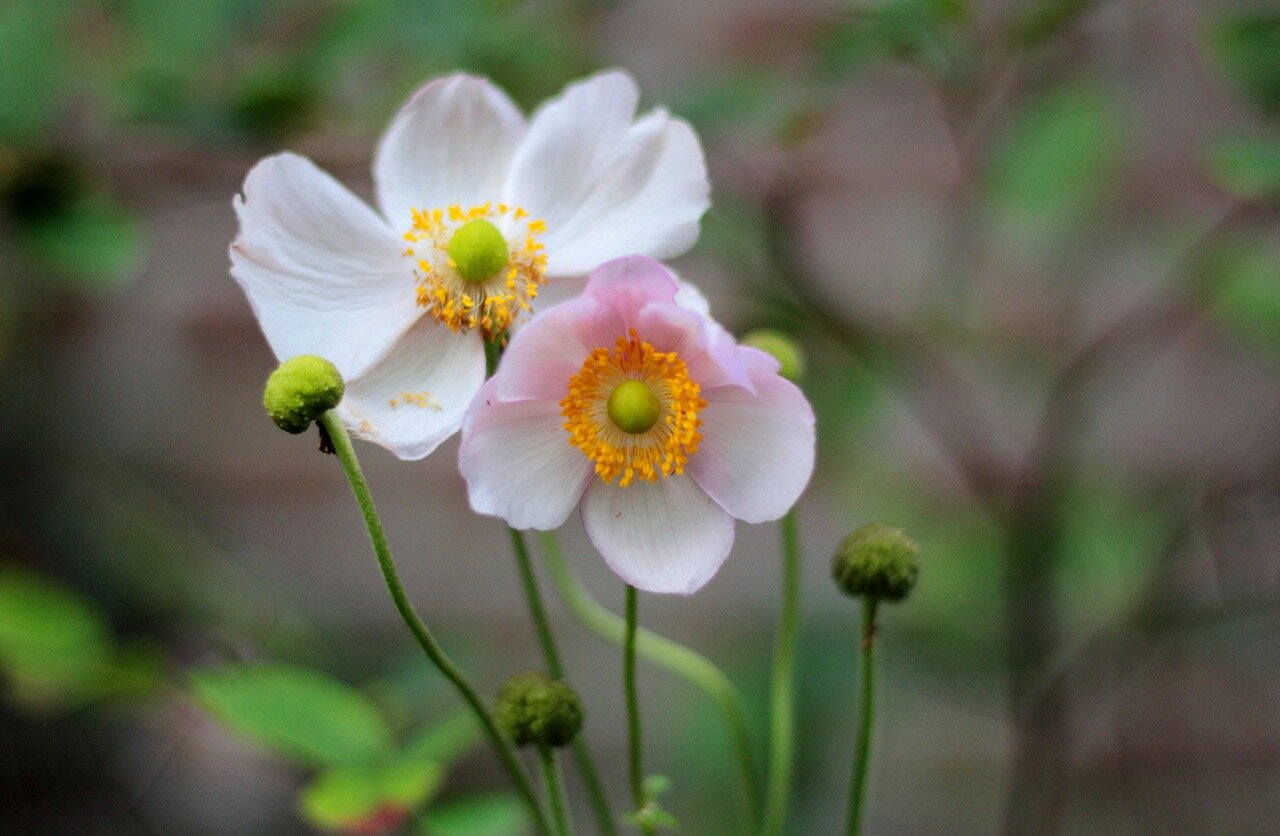
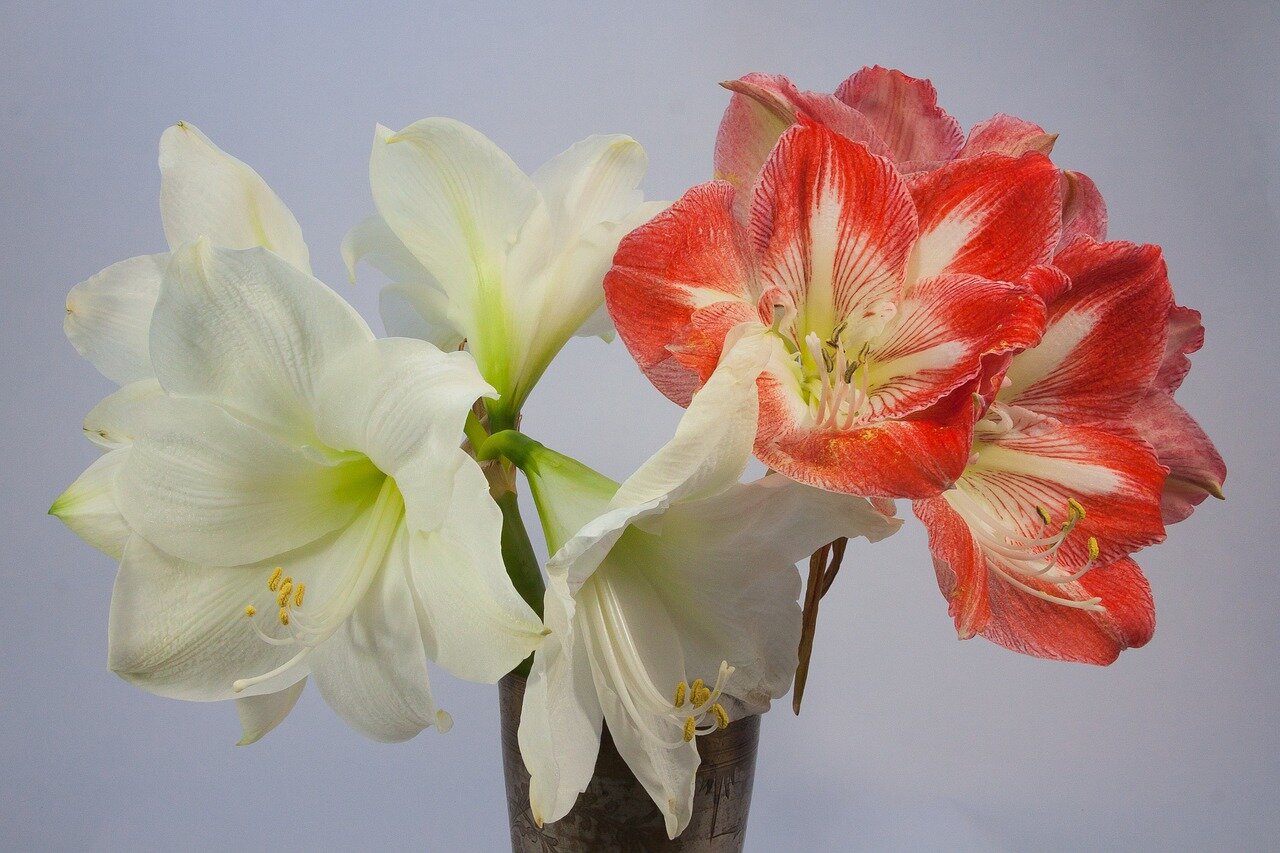
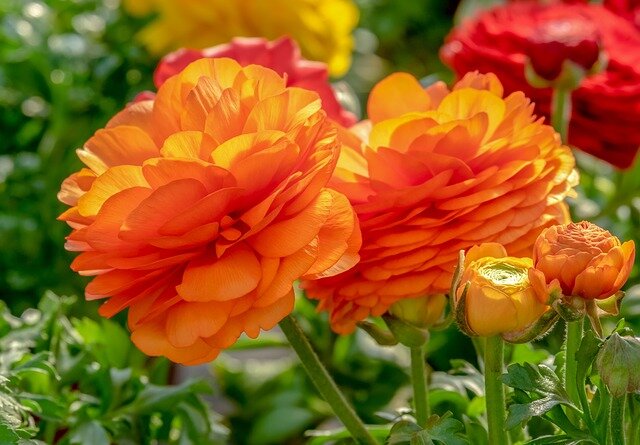
For those who are not patient enough to wait the full 4 months, it takes to force bulbs, you are in luck. Not all bulbs need a chilling time and you can force them all winter long with great success. Bulbs such as amaryllis, paperwhites, ranunculus, and anemones do not need a chilling period.
Choosing Your Method
There are two main ways of forcing bulbs indoors: water or soil and your selection of bulbs will determine which method you use.
Water Forcing
Bulbs that respond well to the water method include amaryllis, paperwhites, daffodils, and hyacinth. Other bulbs, such as tulips, fritillaria, and crocus are best down using soil.
Select a container
Most of us have seen bulb jars for sale around mid-winter. These are typical for forcing hyacinths as they have large, heavy bases that anchor the plant. The taller your plant is in full bloom will dictate how tall or heavy your container needs to be. Large glass vases are great for this as they provide support as well as the visual appeal of seeing the roots form.
Position and Plant the bulbs
Always position your bulbs with the pointy end up. If you are using a bulb jar, fill the bottom with water until it is no more than ¼ inch away from the bottom of the bulb. Do not let the bulb sit in the water, it will rot.
If you are using a vase, line the bottom with gravel, marbles or stones and rest the bulbs on the material. Fill the vessel with water until within ¼ inch of the bottom of the bulb.
Chill the Bulbs
As mentioned, chilling your bulbs is essential if you want them to bloom. Ideal locations include unheated garages, root cellars or, sheds. Refrigerators also work well for chilling. The warmest you want your bulbs to be during chilling is 40 degrees. It is best to keep them at or below freezing as this is what their conditions would be like outside.
Amaryllis and paper-whites do not need chilling. Set them in a sunny window until buds appear, then move them to a cooler location out of direct sunlight.
Soil Forcing
Most bulbs forced inside use soil or some other potting medium. It is a simple process and very straight forward
Select the Right Container
When forcing bulbs in soil, choose a container with ample drainage so the bulbs are not sitting in soggy soil. Terra cotta is my preference but you can also use ceramic or even plastic pots if you have some laying around. This is a great opportunity to showcase your flea market and vintage store finds. If you have a container you wish to use that does not have holes in the bottom, line the bottom with gravel and water.
Position and Plant
Fill the bottom third of the container with soil. Place the bulbs pointy end up. A general rule of thumb is 1 bulb per inch in diameter. If you have a 6-inch pot, you can fit 6 tulip bulbs in it. Cover the bulbs with potting soil so that the tips are poking out of the soil. Water and set aside while you pot the rest of your bulbs.
Chill the Bulbs
Place your bulbs in your desired location for the chilling period and check on them regularly. When the top layer of soil is dry, water the bulbs. When the chilling time is up, bring them inside and force them out of dormancy.
Coming out of dormancy
Regardless of what method you choose to force our bulbs, once they come out of the chilling period, it is time to bring them into a warmer environment.
Start with a warm but dim environment such as under a table or in a closet. Once the bulbs have put out 3 – 4 inches of growth, place them in a bright, sunny spot such as a south-facing window. After about 3 weeks, your plants should be putting out buds.
When your plants put on their buds, move them to a location where they are out of direct sunlight and away from drafts or heating vents. Here, they will bloom and the consistent temperature and lack of direct sunlight will help the plant keep its bloom longer.
Replant Your Bulbs
While you can’t force a bulb to bloom twice in one season, when you’re done with your forced bulbs, plant them outside and they will delight you again next spring with the snow melts and warm weather returns. Over time, some bulbs will naturalize themselves and spread. We planted a patch of daffodils on the island decades ago that have found a happy home on an east-facing slope where they bloom each spring.
Conclusion
Forcing bulbs is a great way to bring nature inside and presents great opportunities to decorate around your home. Place the forced bulbs in unique containers and use them as a centerpiece for Easter or any spring celebration. Better yet, chill a few extras and give them to a friend or neighbor. This is an easy and fun project that is accessible to all ages and abilities.